Friday, July 20, 2012

Music and Lyrics Paint Project

I saw something like this on Pinterest (what a shocker) and wanted to try it out with some friends for a fun craft day!We were all in choir together and love music so this craft seemed perfect for our dorms/apartments/houses!  
Supplies:
1. A Canvas (Or for a project on a budget, use a piece of cardboard, my friend Amanda did this and it turned out great!)
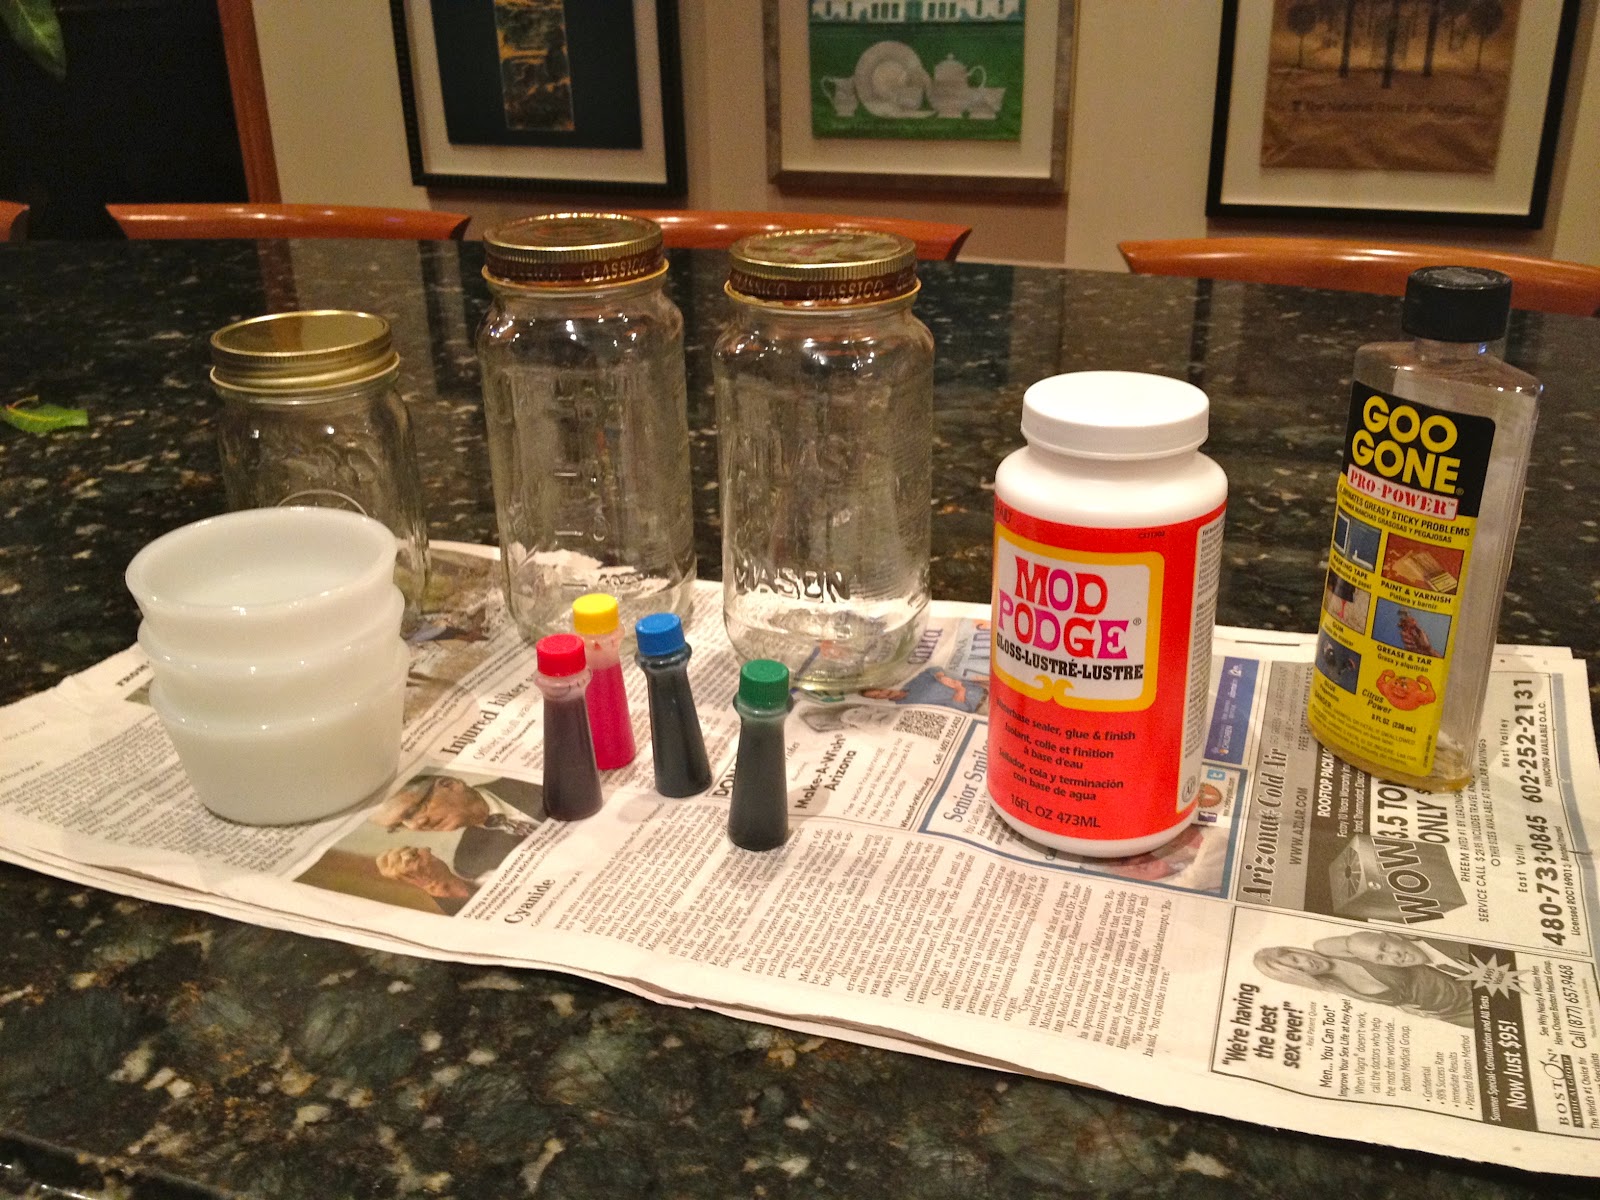
2. Acrylic Paint
3. Vinyl Letters (It's really important to use Vinyl letters, not just stickers. Vinyl letters will peel right off the paper and stickers won't!)
4. Sheet Music
5. Mod Podge
6. Assorted Paint Brushes
7. Spray Acrylic Coating (Optional)
8. Sandpaper (Optional) 


So first I mod podged the sheet music to the canvas. I put a layer underneath and overtop the sheet music. 


Once the mod podge dried, I stuck on the vinyl letters. Since there was a music theme, I used lyrics from a song by my favorite band, The Weepies. 
Then I painted over the canvas with a large paint brush. I only painted one layer so that the music would still show through! 


And don't forget to paint the sides! 


Now let it dry completely! 


 Once the paint is dry, gently peel off the letters. At this point, my friend Alyssa used sandpaper to scrape some of the paint off to give it a cool look. 


Next, add another layer of mod podge to the canvas to seal it and give it a nice shiny look! 


Now this step is optional, but I also sprayed on a layer of Acrylic Coating to really seal it (or because I just had it lying around). 


ALL DONE!! 


(My friend Berkley took our painted Vinyl letters and made her own masterpiece!) 


We had a lot of fun! 

Wednesday, July 11, 2012

Tinted Mason Jars

So I saw something like this on Pinterest but without many specifics. So I wanted to try it and figure out good instructions! I'm really excited with how it turned out! 


So I started out with three masons jars, 2 large ones and 1 medium sized one 


Materials:
1. Mason jars
2. Mod Podge
3. Goo Gone
4. Food Coloring
5. Little bowls
6. Newspaper
7. Measuring Cups (Not Pictured)
8. Cookie Sheet (Not Pictured)
9. Wax Paper


2 of the Mason Jars I used had been Prego Sauce jars, so I used Goo Gone to make sure all the sticky-ness was off. 


Next, it was time to mix up the mod podge and food coloring. On the back of my food coloring box, there were "recipes" for additional shades. I used lime green (3 green, 1 yellow), turquoise (4 blue, 2 green) and salmon (3 red, 2 yellow). 


I mixed each color in a separate little bowl. First I put the food coloring in. I doubled the "recipe" so for lime green I used 6 green and 2 yellow, and so on. If you want the tint to be lighter, I would suggest that you don't double it and just use 3 green and 1 yellow and so forth. Then I added the mod podge. I used 1/3 cup mod podge for the larger jars and 1/4 cup mod podge for the smaller jar. You can definitely use less, but using this much made it super easy to coat the inside, it just left a lot to drip out when it dried.


Once the mixture was ready, I poured it all in the jar and rotated the jar until the entire inside was coated. 


 This whole process made a huge mess, so make sure you have newspaper down! Once the inside it coated, turn it upside down on the newspaper and let them sit for 10 minutes. 


After 10 minutes, a lot should have dripped out


Then, place wax paper on a cookie sheet and place the jars upside down on the sheet. 


Heat the oven to 200 degrees and put the jars upside down in there for 10 minutes. 


Even more mod podge mix will drip out after that. 


Replace the wax paper and turn the jars right side up. Then put back in the oven for 45 minutes. 


You should start to see it drying 


They're all done when the mixture is translucent instead of opaque! 


All done! 

Tuesday, July 3, 2012

Enamel Painted Vase


I've seen a bunch of these on Pinterest and wanted to try it out myself! 

Supplies:
1. Small Vase (I took one from my mom, but you can get them at the dollar store!) 
2. Enamel (See Below) 

So in other examples I've seen, people were able to find much bigger bottles of enamel, but when I went to Michael's this was all they had. The brand is Testors and its 1/4 fl oz. It's pretty tiny but enough to make one small vase. 

I started by pouring a little bit of the enamel at the bottom of the vase

Then I rotated the vase so that the enamel coated the inside. Be careful as you do this, the enamel is very messy and sticky if you get it on your fingers. But nail polish remover got it off my hands! 


I had to add more enamel as I rotated so that it would cover the entire inside of the vase. This took a little bit longer than I expected and some spots were harder to coat and took a lot of turing and adding more enamel. 


I finally got it all covered! I turned it upside-down to let the excess drip out. I left it overnight to dry. 


I added a cute pink flower and voila! Super cute and perfect for my room!